Free Shipping on all U.S. orders $50+
Brew Like a Barista At Home! The Ultimate Moka Pot Brewing Guide

Do you crave the bold, rich taste of café-style espresso but want to enjoy it in the comfort of your own kitchen? The answer lies in one charming, retro coffee maker that’s been stealing hearts (and palates) since the 1930s: the Moka Pot! A timeless symbol of Italian coffee culture, the Moka Pot delivers bold, flavorful coffee without a fancy espresso machine price tag.
Whether you’re new to Moka Pots or looking to perfect your brewing game, this guide lays out everything you need for a velvety cup that feels straight out of Italy—even if you’re still in your pajamas!
What Is a Moka Pot?
The Moka Pot, often referred to as a “stovetop espresso maker,” is a classic coffee brewer invented by Alfonso Bialetti in 1933. Its sleek, octagonal design has earned a permanent spot in coffee history books and countless kitchen counters worldwide.
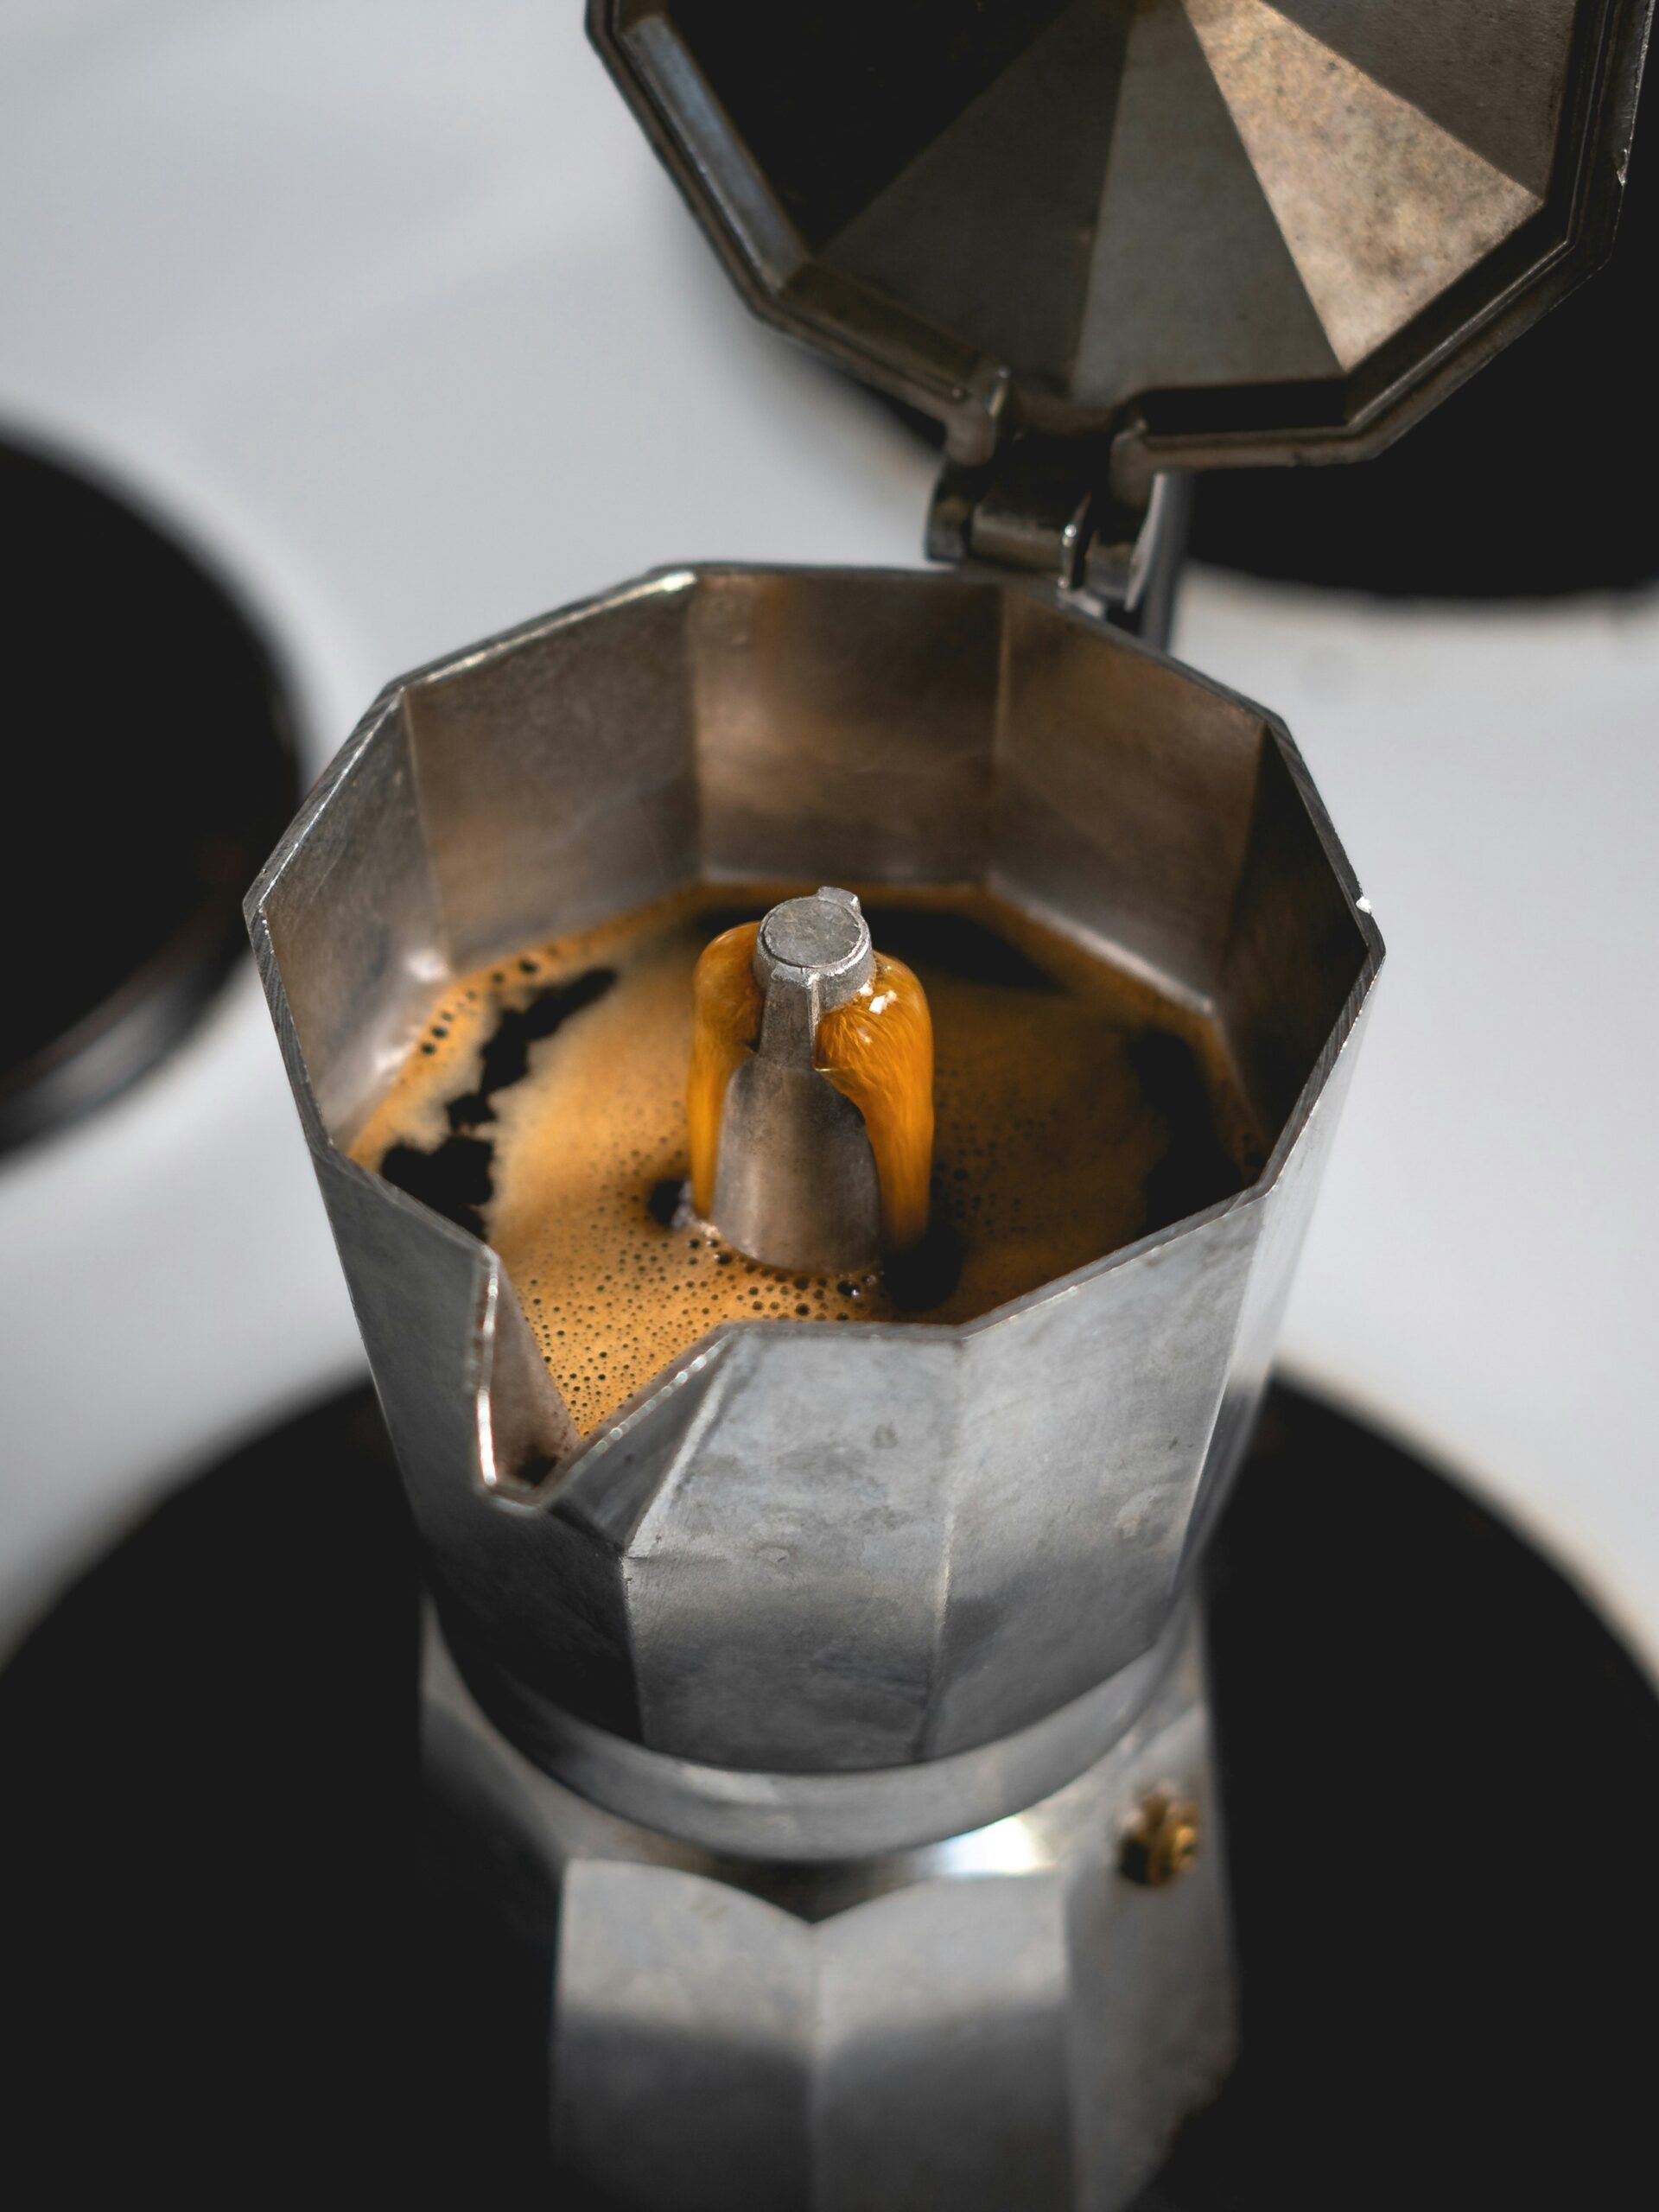
Unlike drip coffee makers or French Presses, the Moka Pot uses steam pressure to push boiling water through ground coffee, resulting in a concentrated, espresso-like brew. Its portability, simplicity, and ability to brew rich coffee have made it a favorite among coffee enthusiasts (and budding home baristas).
If you’re not already entranced, just wait until you see it in action!
Essential Equipment for Moka Pot Brewing
Before you can channel your inner barista, make sure you’re armed with these coffee essentials:
1. The Moka Pot
You can’t brew without it! Moka Pots come in all sizes (from 1-cup to 12-cup options)—choose one that best suits your coffee drinking habits. Pro tip? Stick with stainless steel or aluminum for authentic results and longevity.
2. A Coffee Grinder
Freshly ground beans are the secret weapon of incredible coffee. Use a burr grinder for even grounds. Aim for a medium-fine grind, similar to table salt.
3. Quality Coffee Beans
Treat yourself to freshly roasted coffee beans that suit your flavor preferences. Light roasts bring out fruity notes, while dark roasts deliver richer, bolder flavors.
4. Filtered Water
Great coffee starts with great water. Skip the tap water and opt for filtered water to keep flavors clean and smooth.
5. A Heat Source
A gas or electric stovetop works perfectly. If you’re using induction, ensure you’ve chosen an induction-compatible Moka Pot.
Now that your coffee toolbox is stocked, it’s time to get brewing!
Step-by-Step Brewing Guide for the Perfect Moka Pot Coffee
Step 1: Add Water
- Unscrew your Moka Pot and remove the filter basket.
- Fill the bottom chamber with filtered water up to the safety valve (do NOT exceed this mark!).
Step 2: Grind Your Coffee
- Grind your coffee beans to a medium-fine consistency. Too fine, and you’ll clog the filter—not the vibe you want.
Step 3: Fill the Filter Basket
- Add coffee into the filter basket without compacting it. A light tap to level the grounds will do the trick!
Step 4: Assemble the Moka Pot
- Place the filter basket back into the bottom chamber.
- Screw the top chamber on tightly, ensuring all parts are sealed but don’t overtighten.
Step 5: Apply Heat
- Place the Moka Pot on medium heat. Resist the urge to crank it up high! A slow rise in temperature equals better coffee.
- Stay close! You’ll hear a soft gurgling sound as the steam does its work.
Step 6: Watch the Magic
- Once the coffee has filled the top chamber and the gurgling sound fades, remove the pot from heat immediately. Overheating can lead to bitter coffee.
Step 7: Pour and Enjoy
- Serve your coffee right away to savor its peak flavor. Whether you take it black or paired with frothy milk, get ready for a sip of bliss!
Tips and Tricks for Next-Level Brewing
1. Preheat Your Water
To reduce chances of overheating, preheat your water before adding it to the bottom chamber. This helps avoid burning the coffee grounds.
2. Experiment with Bean Ratios
Not all coffee beans brew the same way! Play with different grind sizes and quantities to find your personal flavor sweet spot.
3. Avoid Overpacking the Basket
Resist the urge to tamp down coffee grounds like you would with an espresso machine. Overpacking might block the flow of water and ruin your brew.
4. Go Low and Slow on Heat
Rushing the brewing process will kill some of the nuanced flavors you worked so hard to prepare. Patience equals payoff!
5. Mix Before Serving
Once your brew is complete, stir the coffee in the top chamber to evenly distribute flavors.
Cleaning and Maintaining Your Moka Pot
A well-maintained Moka Pot delivers cup after cup of greatness. Here’s how to keep yours in mint condition:
- Rinse After Every Use: Skip the dishwasher! Wash with warm water and mild soap by hand.
- Avoid Abrasive Cleaners: These materials can scratch metal and dull the look of your pot.
- Inspect the Gasket Regularly: The rubber gasket wears out over time. Replace it as needed to ensure a tight seal.
- Keep it Dry: Thoroughly dry all parts before reassembling to prevent rust or mold.
Pro Tip: If you love that retro, seasoned patina look, don’t over-clean your Moka Pot. Just rinse and go!
Relive Coffee’s Golden Era with a Moka Pot
The Moka Pot is more than a coffee brewer; it’s an experience. It’s about slowing down, experimenting with flavors, and adding a splash of vintage chic to your kitchen. Whether you’re a coffee newbie or a seasoned enthusiast, the charm of a perfectly brewed Moka Pot cup is simply irresistible.
Have a brewing tip or secret recipe to share? Drop it in the comments below—we’d love to hear about your Moka Pot adventures!


